

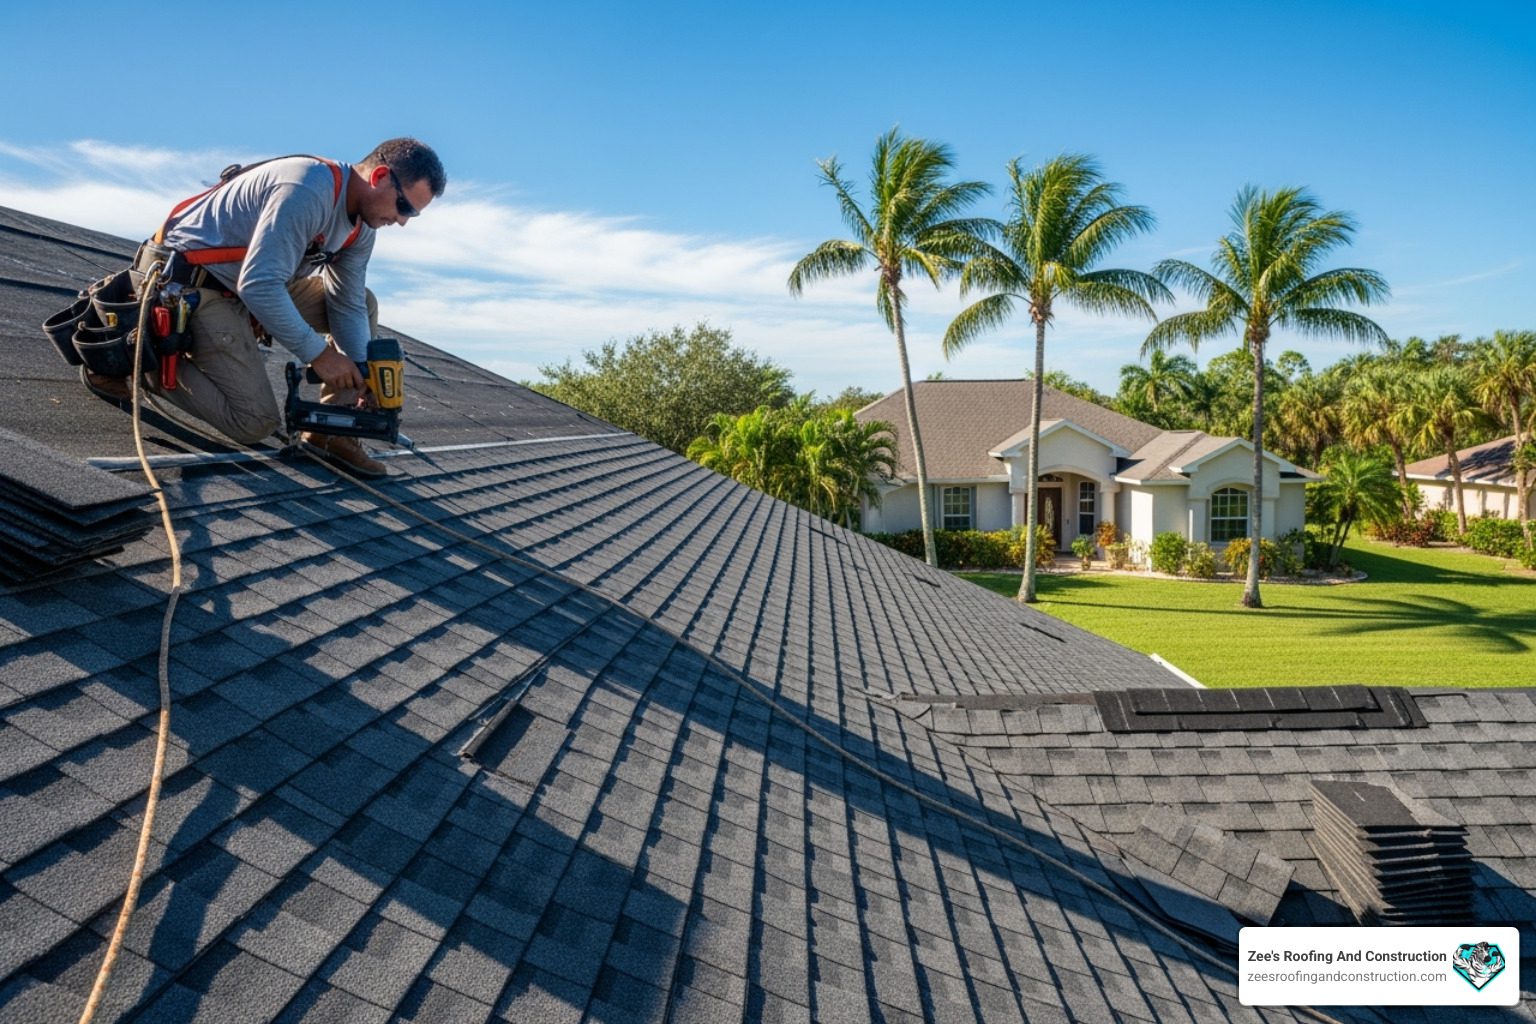
You notice it first when the sun is low. A line across the shingles that was not there in spring. A couple tabs that look like they are “floating” at the bottom edge. Then a pop of grit in the gutter after a hard afternoon thunderstorm. In Sanford, we see this a lot on block homes with low-slope porch tie-ins, flat patio covers, and garage roofs that bake all day and cool fast at night. (If you want the bigger picture on why this area is hard on roofing, read roofing challenges in Sanford’s climate.)
Most homeowners call it “warping.” What we usually find is a mix of heat, trapped moisture, and a roof system that is not breathing or bonding the way it should. Shingles are meant to lie flat, sealed to each other, and nailed into solid decking. When the roof is cycling from 95 to 140 degrees at the surface, day after day, small weak points show up fast.
Thermal cycling breaks the shingle seal, then wind finishes the job
Asphalt shingles rely on a factory seal strip. It is a band of asphalt adhesive that softens with heat and bonds the tab above it. In Florida sun, the roof surface can run 140°F or higher on a dark shingle. That heat helps the seal, but the nightly cool-down and repeated expansion and contraction can shear the bond if the shingles were dusty, installed in the wrong temperature window, or never pressed into a clean, flat course. (For product-specific sealing and install rules, check the installation instructions for the exact shingle brand and line you have on your roof.)
Once the seal is compromised, you get the classic “roof shingles lifting Sanford FL” complaint: tabs that flutter in a breeze and lift at the corners. Wind does not have to be hurricane strength to make it worse. A 30 to 40 mph gust can get under an unsealed tab and start creasing it at the nail line. After a few cycles, the shingle holds that shape, and now it is a leak path. If you are chasing leaks that only show up during sideways rain, this ties in with wind-driven rain leaks in Sanford homes.
We look for diagonal crease lines, granule loss at the fold, and shiny spots where the seal strip never grabbed. Those are telltales you can check from a ladder at the eave, no roof-walking needed.
Attic ventilation problems show up as ripples, not just high power bills
Ventilation is not a comfort topic, it is a roof durability topic. A hot attic bakes the underside of the deck, and that heat drives the shingles harder from below and above. On many block homes, attic space is smaller and the airflow path is choked by insulation piled into the soffit line. We see soffit vents painted shut, or no continuous intake at all.
A basic target we build around is balanced intake and exhaust. That usually means soffit intake plus a ridge vent, or soffit intake plus roof vents when a ridge vent is not practical. The key is the air pathway. If insulation blocks the soffit, we install baffles (rafter vents) to keep a 1 to 2 inch channel open from soffit to attic.
Symptoms that tie back to ventilation are specific: nail pops along the deck seams, rippled shingle courses over truss lines, and darkened plywood at the ridge from heat and condensation. If your bathroom fan dumps into the attic instead of a roof cap, that moisture load can make the problem show up within one summer.
Underlayment adhesion fails on hot decks, especially on low-slope tie-ins
Underlayment is the layer between shingles and decking. On steep-slope areas, a synthetic underlayment does fine when it is fastened correctly with plastic cap nails. The trouble spots in this area are the low-slope sections, porch transitions, and dead valleys where water moves slow and heat is intense.
On slopes at 2:12 up to 4:12, details matter. We often specify a self-adhered modified bitumen underlayment (peel-and-stick) in valleys, along eaves, and across low-slope tie-ins. If that membrane is installed over damp plywood, dusty decking, or in the middle of a rain-on, rain-off week, it can blister. Those blisters telegraph through as ripples in the shingle courses.
Another common miss is fastening pattern. Staples are fast, but they do not hold like cap nails, and they can cut the underlayment when the deck moves. We use cap nails and keep laps shingled correctly, with the manufacturer’s lap width, often 4 inches or more depending on the product. When underlayment is loose, the shingle surface will never stay flat.
Moisture trapped in the roof system curls shingles from the bottom up
Heat alone does not lift shingles evenly. Moisture does. We see trapped moisture from three places: wet decking after a leak, condensation from a humid attic, and saturated insulation that never dried out after a storm.
Plywood and OSB move when they take on moisture. A 7/16 inch OSB panel that swells at the edges creates a ridge line that prints through the roof. That looks like a ripple, but the real issue is the deck is no longer flat. Add heat and that raised seam pushes against the shingle mat. Over time, the shingle starts to “tent” along the seam, and the seal strips can break.
Condensation is its own animal. If you have a supply duct sweating in the attic, or a disconnected dryer vent, you can feed gallons of moisture into the space over a season. You will smell it before you see it. We check the underside of the deck for dark staining, rusty nail tips, and fungal spotting, especially near the ridge and around bath fan terminations.
Stopping repeat failures means drying the system, not just laying new shingles over a damp deck.
Low-slope sections and transitions need different details than the main roof
A lot of roofs in this area are not one clean slope. You have a 5:12 main roof, then a 2:12 porch, then a flat patio cover tied into a wall. Those transition points are where ripples and lifting start, because water and heat behave differently there.
Shingles are designed for steep-slope shedding. On lower slopes, water can back up under tabs during wind-driven rain, then sit and cook. That repeated wetting and drying attacks the seal strip and the underlayment laps. We treat those areas like their own roof.
Typical fixes include widening the ice-and-water style membrane coverage at the transition, running a peel-and-stick base sheet on the low-slope section, and tightening up metal work. Step flashing at a wall needs to be layered with each shingle course, not face-nailed through the top. At dead valleys, we often install a wider valley metal or a membrane-lined valley depending on the geometry, then keep nails back from the centerline. If you want to see the common misses we correct, this overlaps with roof flashing problems Sanford homeowners miss.
If you see lifting concentrated near a wall or over a porch, that is a detail issue first, not “bad shingles.”
What we do on a lifting-shingle repair so it does not come back next summer
A real repair starts with figuring out why the tab lifted. If the shingle is creased or the fiberglass mat is cracked, it gets replaced, not glued. If it is intact and just unsealed, we can often re-seat it with the right adhesive and fastening.
Here is what the work usually includes:
- Hand-sealing with a compatible asphalt roof cement under the tab, then pressing it flat. We do this in dry conditions, not right before an afternoon storm.
- Renailing where nails were high, missed the shingle nailing line, or backed out. We use roofing nails with the correct length so they penetrate the deck, not just the shingle and underlayment.
- Deck checks at lifted areas. If the plywood or OSB is swollen at seams, we address the decking. Shingles will not lay flat over a crowned deck.
- Underlayment and flashing corrections in the immediate area, especially at valleys, sidewalls, and low-slope tie-ins.
If the roof has widespread lifting across multiple slopes, that points to ventilation, installation temperature, or a systemic adhesion problem. Patching a few tabs will not hold through another Florida summer.
Maintenance that prevents repeat lifting, especially after storm season
Maintenance is not walking the roof every month. It is a short checklist done at the right times. We like to see it after storm season and again before the long heat stretch. If you are building your own checklist, spotting roof damage after Sanford’s storms is a good companion piece.
Start at the ground with binoculars. Look for lifted corners, uneven shadow lines, and shingle tabs that are no longer aligned. Check the gutters for heavy granules. A few granules are normal. Piles are not. After a wind event, check ridge caps. If ridge cap edges are lifting, wind is already getting into the system. (For storm prep habits that reduce these calls, see preparing your roof for hurricane season in Sanford.)
In the attic, look for daylight at penetrations, wet insulation, and bathroom fans that terminate into the attic. A 4 inch duct should run to a roof cap or wall cap, sealed at the joints. Also check that soffit vents are not painted shut and that insulation is not blocking the eave line.
In Sanford FL, algae and debris can hold moisture on the roof surface. Keeping valleys and downspouts clear helps the roof dry faster, which helps the seal strips stay bonded and the underlayment stay stable. If what you are seeing is more staining than lifting, black streaks on roof shingles in Sanford FL gets into the why and the safe ways to clean it.
Key Takeaways
- Shingle seal strips can shear from daily heat cycling, then a 30 to 40 mph gust lifts tabs and creases them at the nail line.
- Block homes often have restricted attic airflow, and blocked soffits can show up as rippled courses and nail pops.
- Low-slope tie-ins (2:12 to 4:12) need tighter underlayment and transition details than the main field shingles.
- Wet or swollen 7/16 inch OSB seams can telegraph as roof ripples and break shingle seals from underneath.
- A lasting repair replaces creased shingles, corrects nailing, and fixes the moisture or ventilation problem that caused the lift.
Conclusion
If you are seeing ripples and lifted tabs, treat it like a system problem, not a cosmetic one. Shingles lift because something underneath or around them is changing: heat, moisture, airflow, or a transition detail that is letting water slow down and work its way in. We can re-seat and replace shingles all day, but if the attic is trapping humidity or a low-slope porch tie-in is built like the main roof, it will keep showing up.
The next step is a proper inspection from the roof and the attic, then a plan that fixes the cause and the symptoms. That is how you stop the same shingles from lifting again next summer in Sanford FL.
References
- Weather data and storm history for Central Florida: https://www.noaa.gov/
- Shingle installation instructions and technical documents from Owens Corning: https://www.owenscorning.com/en-us/roofing
- Shingle installation instructions and technical documents from CertainTeed: https://www.certainteed.com/residential-roofing/
- Industry manuals and best-practice guidance from the National Roofing Contractors Association (NRCA): https://www.nrca.net/
- Building code language and updates published by the International Code Council (ICC): https://www.iccsafe.org/